
One Room Challenge Spring 2020 ~ Week 3

image courtesy of Kennedy Nolan
Hello Wednesday and welcome to Week 3 of One Room Challenge. For new friends visiting me today, my name is Tim Lam, an interior decorator based in Toronto, Canada. This is my 6th One Room Challenge, and I have tackled a kitchen, a dining room, a guest bedroom + powder room, an office, and a guest bedroom / office + ensuite over the past few years. For more behind-the-scenes footages, check out my Instagram and my weekly posts:
For Spring 2020 #ORC, I am transforming an open-concept living / dining / kitchen space in a pre-construction condo project. We have modified the layout of every room to some extent and the kitchen by far required most of our attention. Here is why:

Builder’s Plan
L-shape layout (actually quite efficient)
limited continuous run of counter space (remember you still need to find a spot for the microwave)
upper cabinets not going all the way to the top + no display area to make the kitchen “less kitchen”
dining table shown on plan but was possible to upgrade to an island


my plan
move the fridge to the left wall to max out the entire kitchen space
extra storage at the corner + an “invisible” spot to house the microwave (now that the fridge is out of the way)
additional storage with full height upper cabinets
incorporate floating shelf to create a feature wall moment
To map out the kitchen of our dreams, I collaborated with the talented Tiffany Leigh of Tiffany Leigh Design. I would say we have maxed out every square inch of real estate for storage and function + achieved the full potential of a contemporary gourmet kitchen. From elevations + inspirations to the moodboard, I simply couldn’t wait to see it all comes together.


image courtesy of Kennedy Nolan
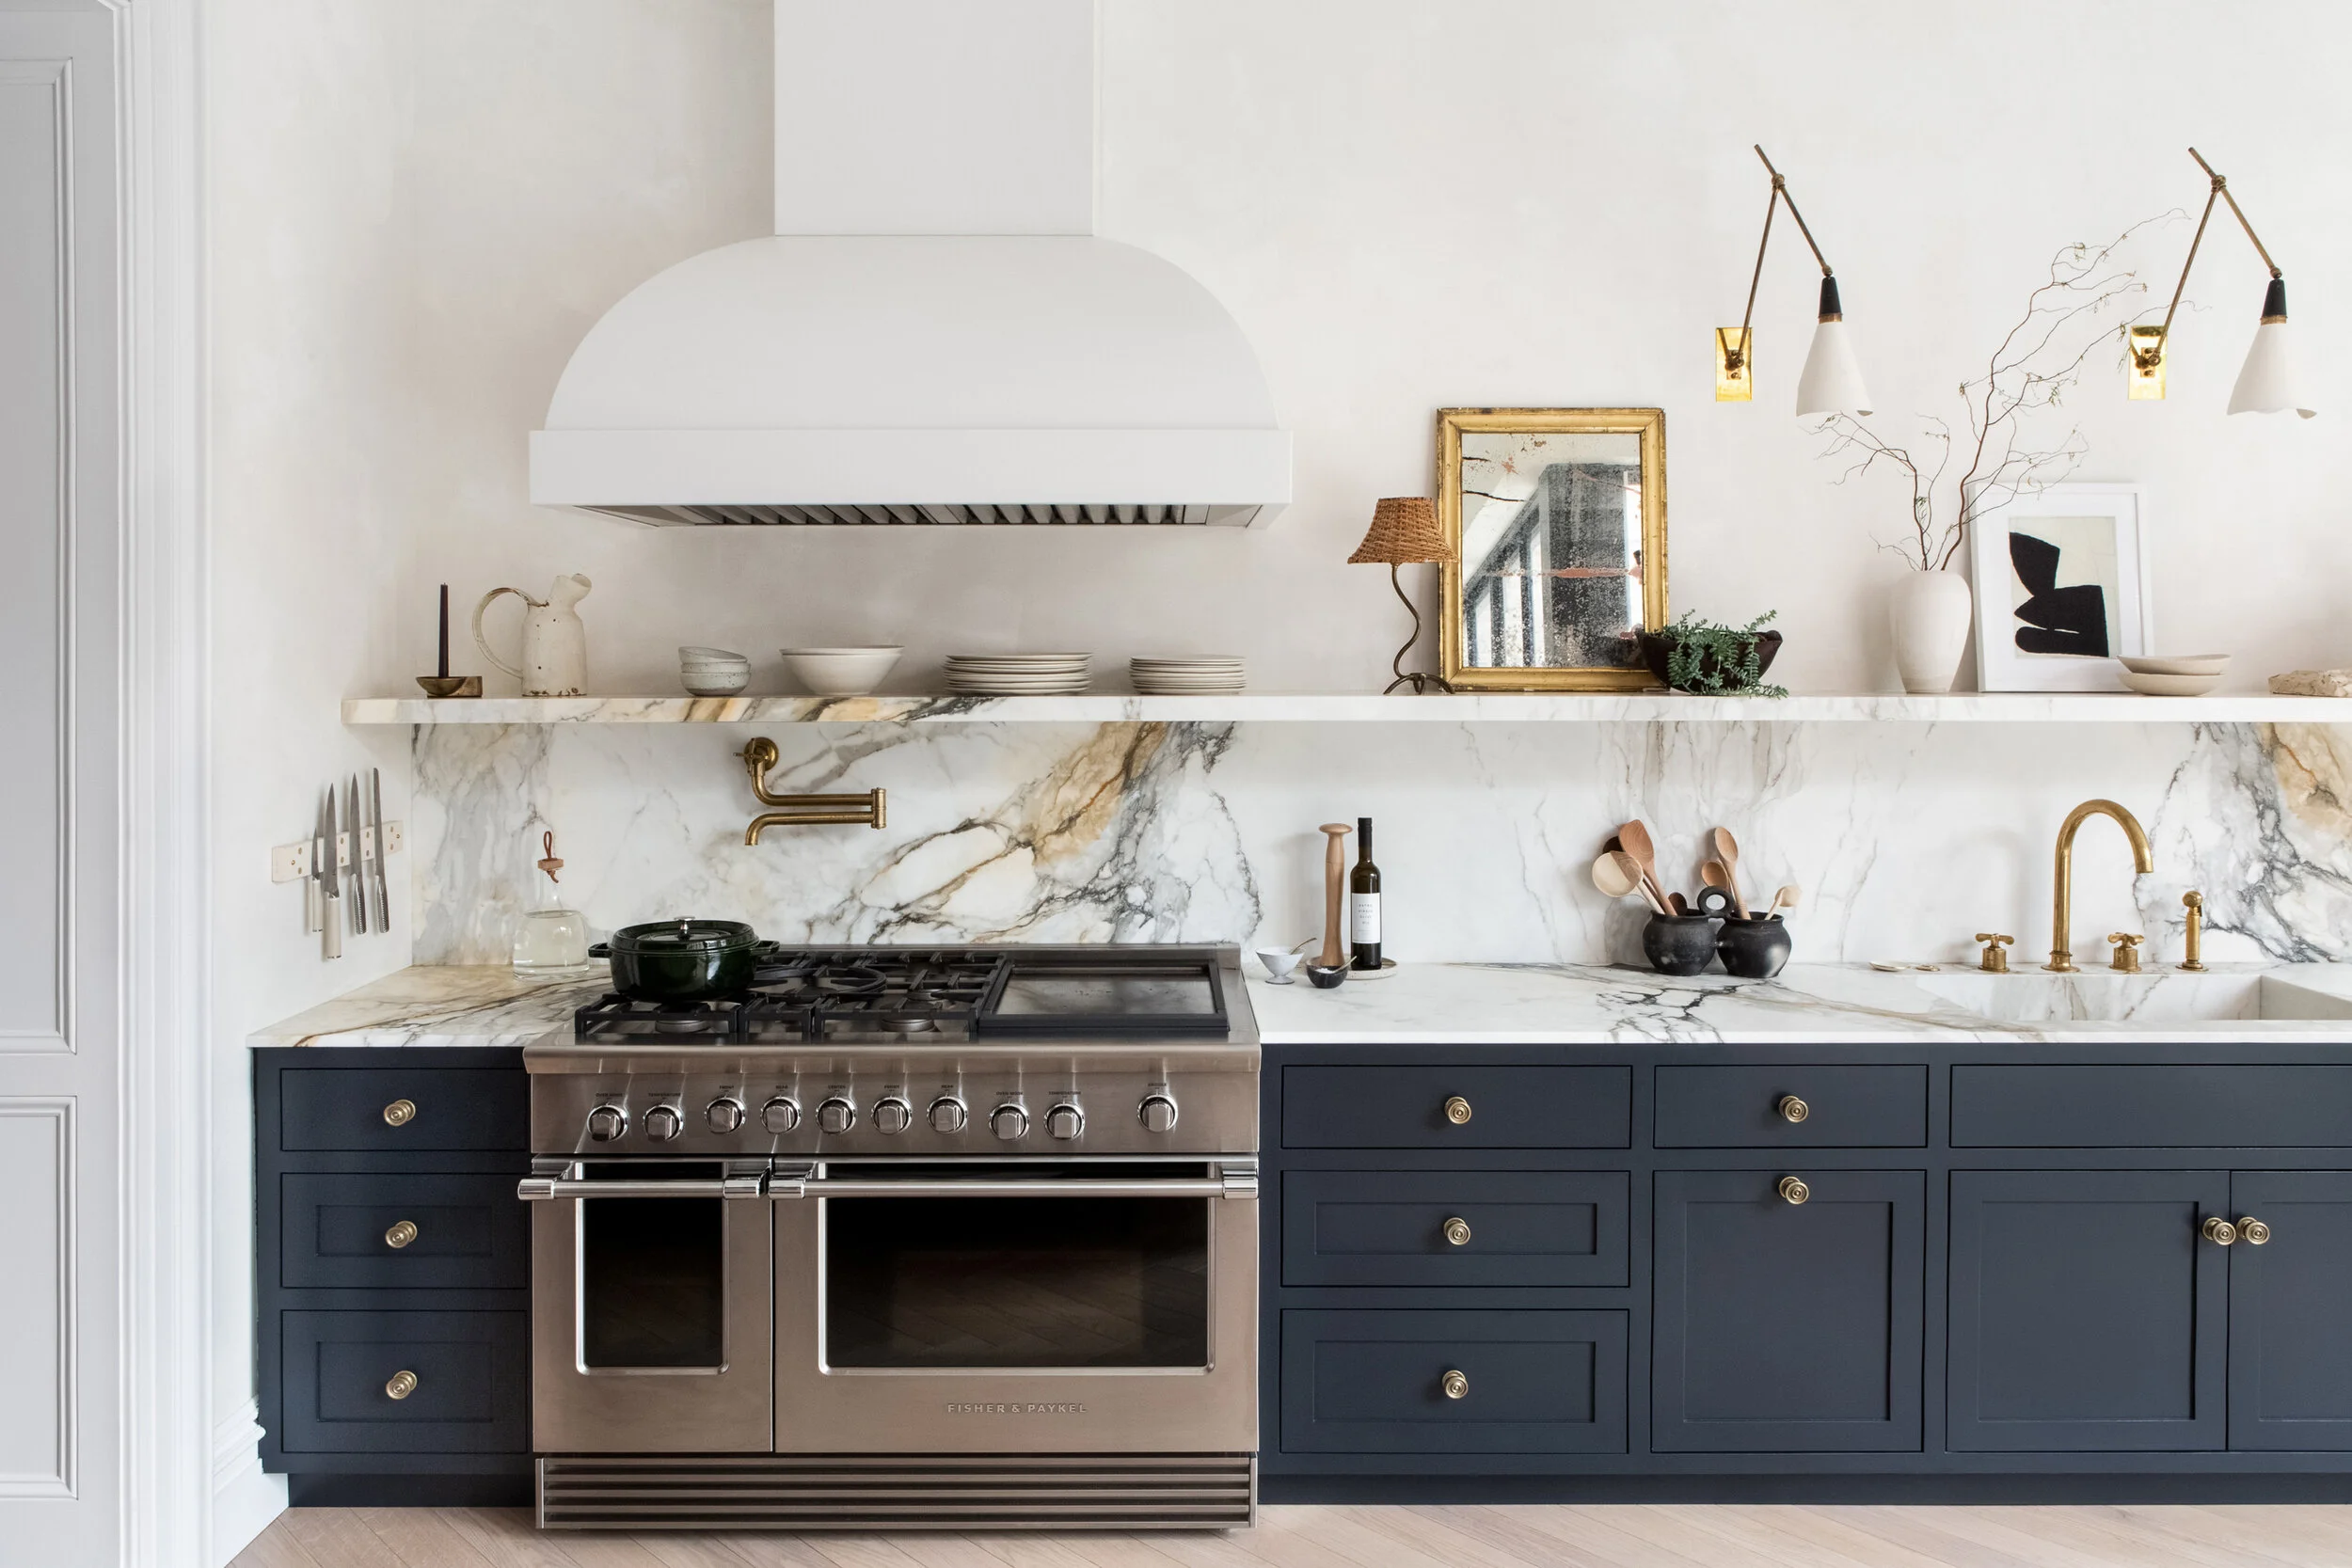
image courtesy of Eye Swoon

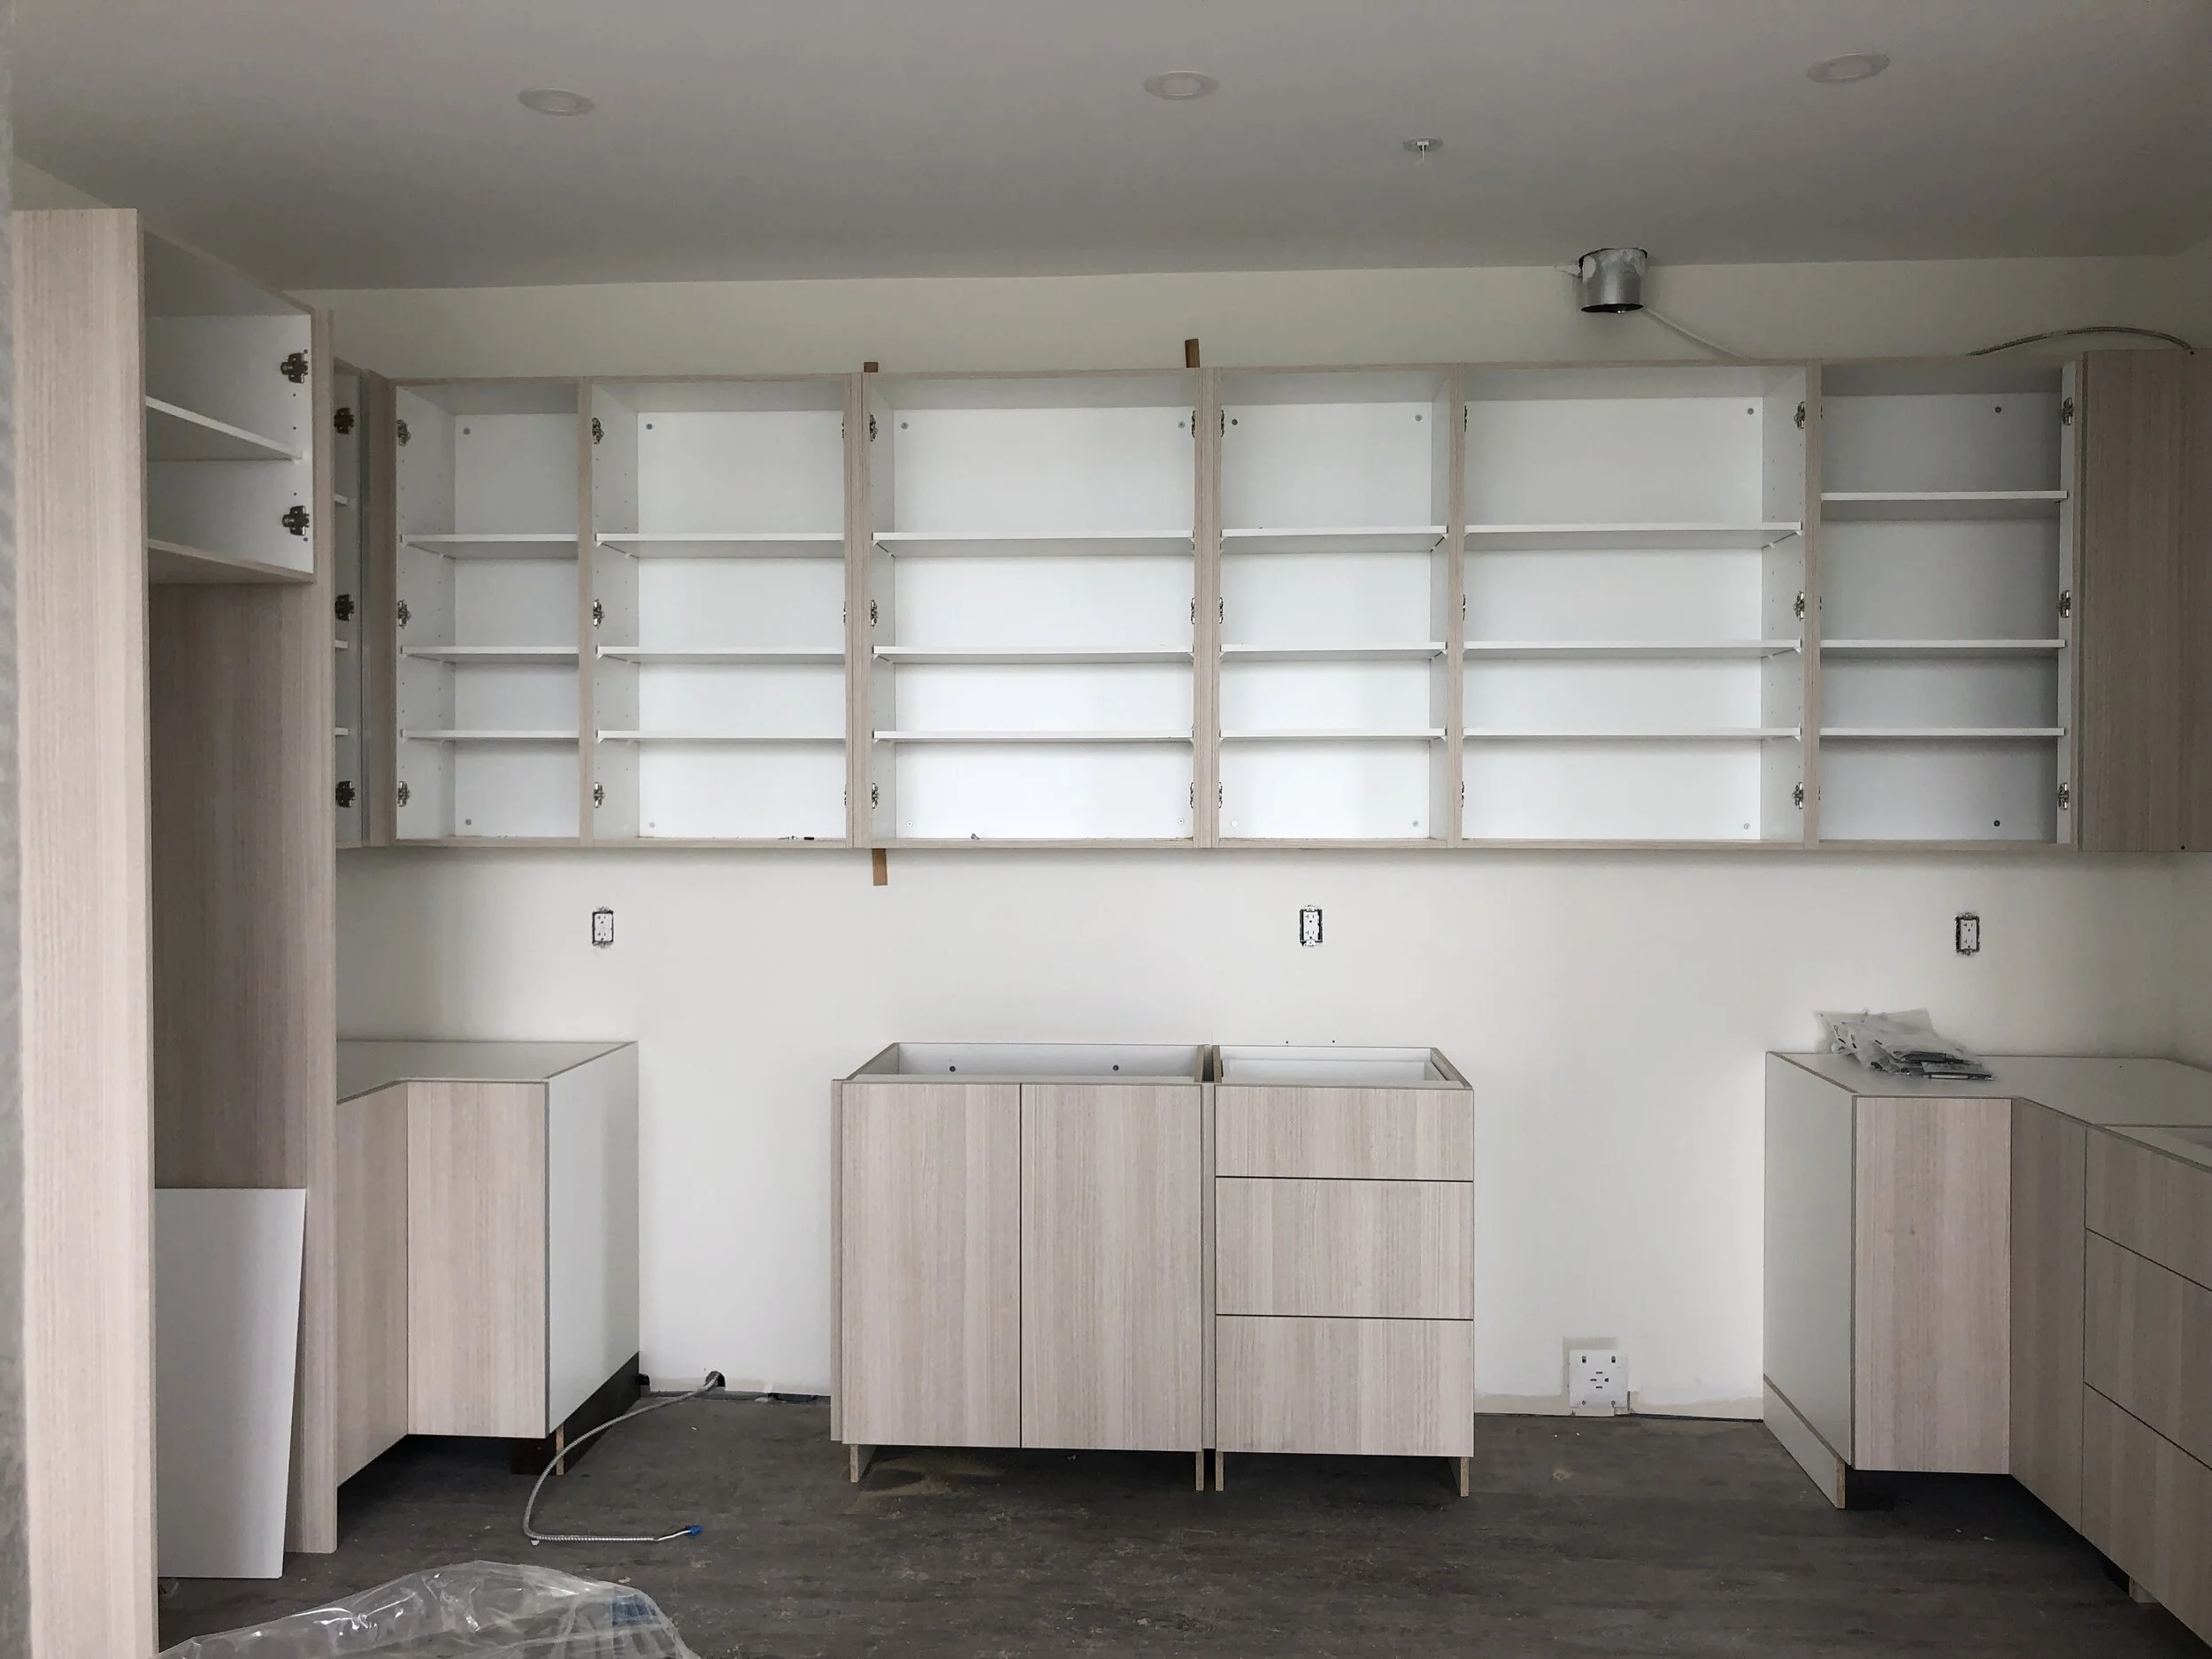
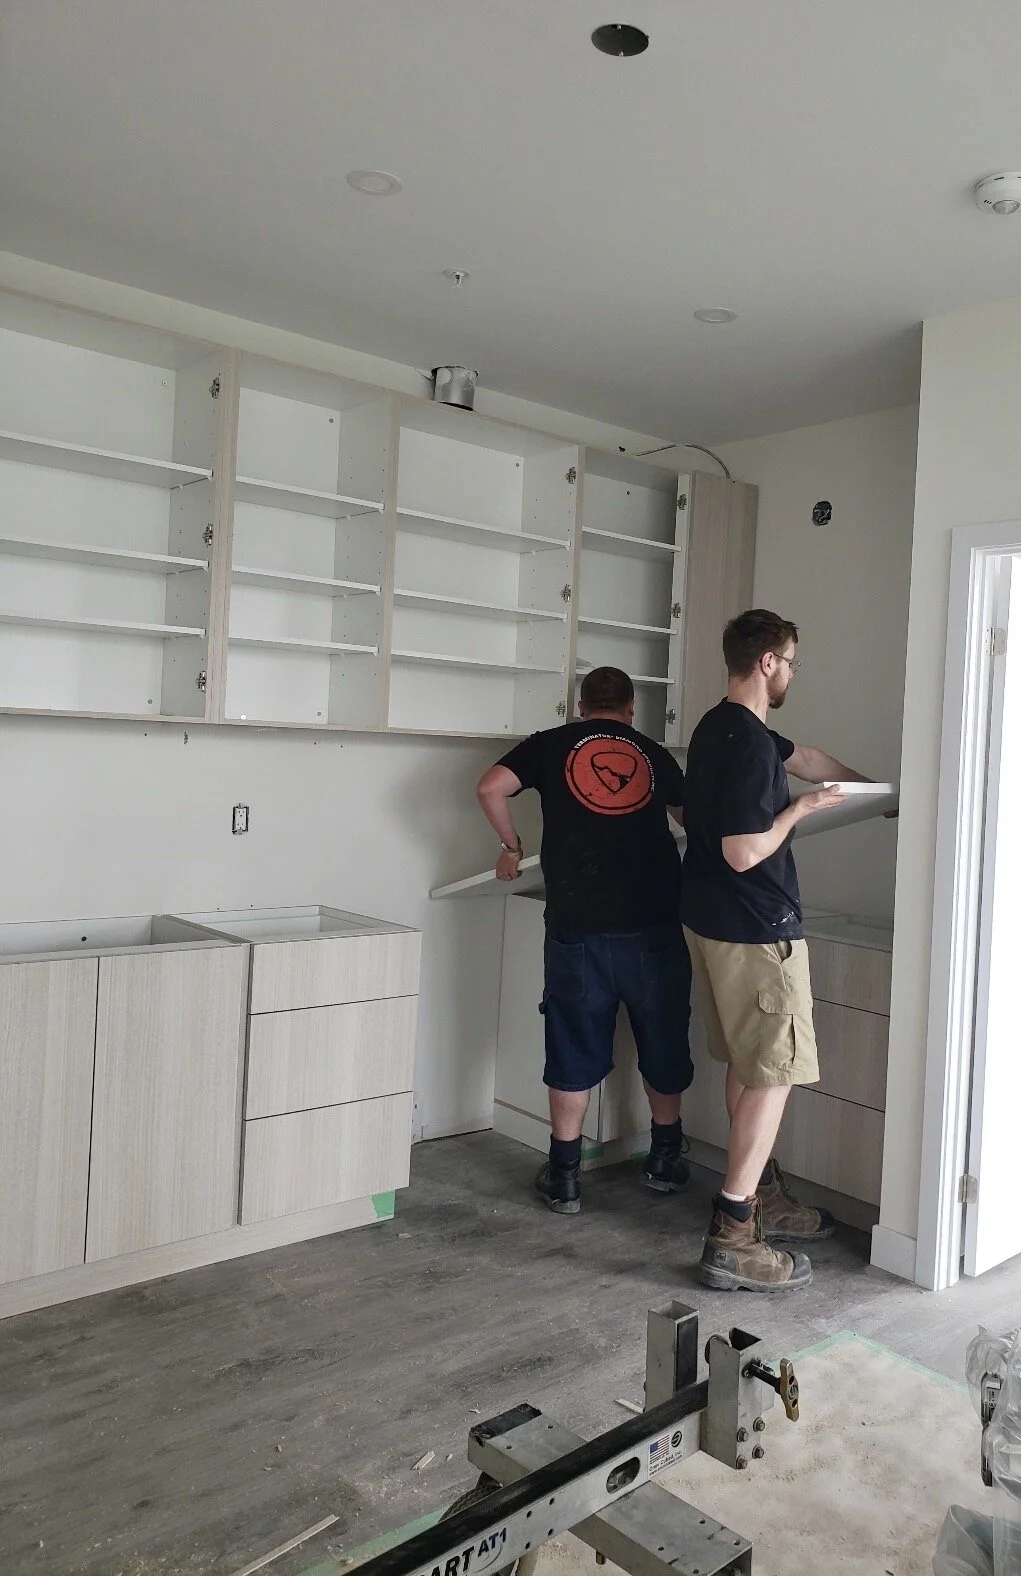
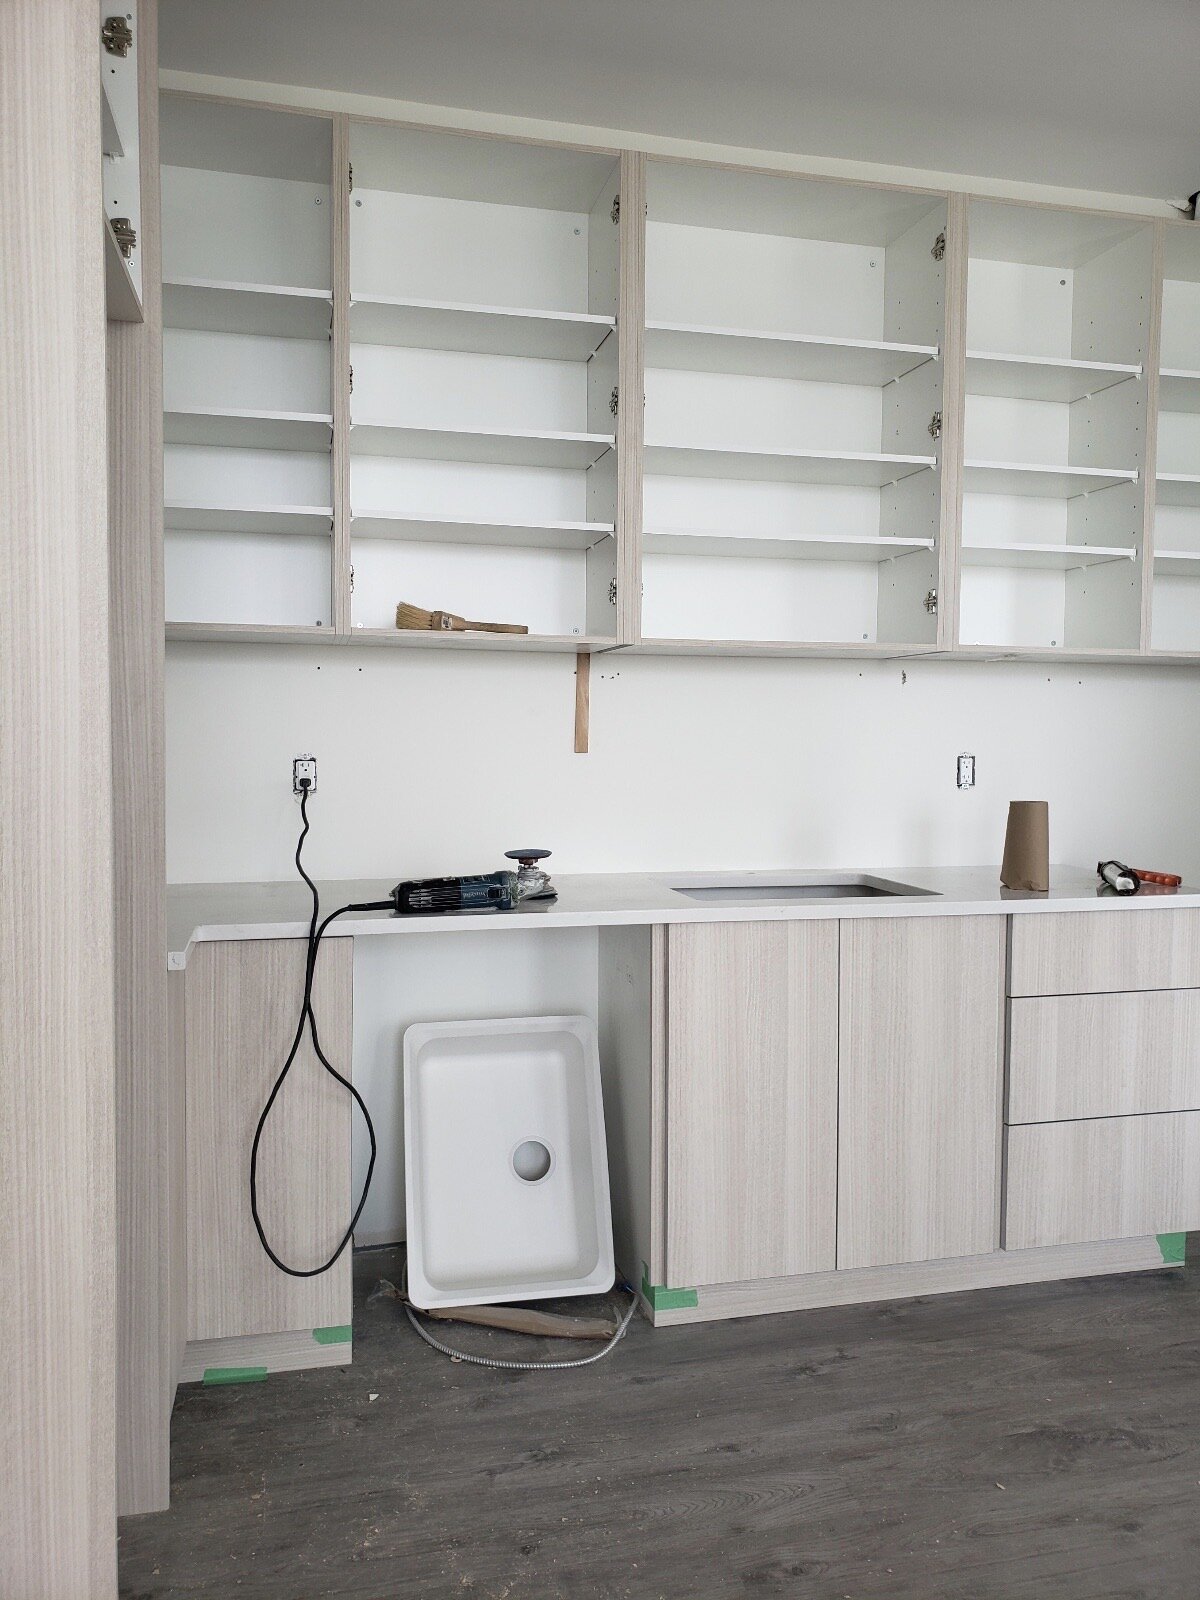
I gave you a quick peak on week 1 when we’d just finished with drywalls and electrical in the kitchen. The cabinets arrived shortly after and I had to go check out the installation. I love the soft, white-washed look of the cabinets and the configuration is exactly what we have planned, EXCEPT that the upper cabinets were installed too low!!! We have specified the backsplash needs to be 20” in height (standard is 15- 18”H) in order to allow for enough clearance for the faucet.
Tip:
This is something you may want to consider when designing your kitchen. Yes it may seem a bit surreal that the entire bank of upper cabinets is dictated by the faucet; however, it’s better to plan ahead instead of regretting down the road that the faucet of your dreams just won’t fit in your brand new kitchen.
Side note:
Normally the upper cabinets are installed a little “higher’ where the sink / faucet sit to provide additional head space (doing dishes, large pot, etc.). But since I want the entire upper cabinets + the floating shelf to form ONE uniform horizontal line, raising all the upper cabinets to 20” from countertop is the way to go.


While we wait for the upper cabinets to be reinstalled, let’s turn our attention to countertops. When it comes to countertop materials, my top preference is quartz and here is why:
heat resistant
stained resistant
scratch resistant
low maintenance
There are many quartz suppliers to choose from but I love working with HanStone Canada as many of their materials are sourced within Canada, and their slabs are manufactured in London Ontario, meaning high quality slabs are more readily available + less carbon footprints for our planet. Best of all, HanStone Canada offers two different slab sizes and we needed two slabs of jumbo for the project.
I of course couldn’t not wait to see my countertop in person … so I visited the shop to “observe” the fabrication process. More behind-the-scenes vids on fabrication on my IG stories.
p.s. the shop visit and the countertop installation were shot pre-COVID … in case you were wondering about personal protective equipments.


It was most certainly an exciting day when the countertops arrived. With its shape and length,, our 15’ long countertop came as two pieces. After all, we do live in a condo and these counters would need to get to the 17th floor. And with that introduction, you all know where this is going.
The first piece (the shorter of the two) went in like a dream.
Now for the longer piece … let just say there was quite an episode around the elevator and the idea of using the crane from the construction site next door did cross my mind.

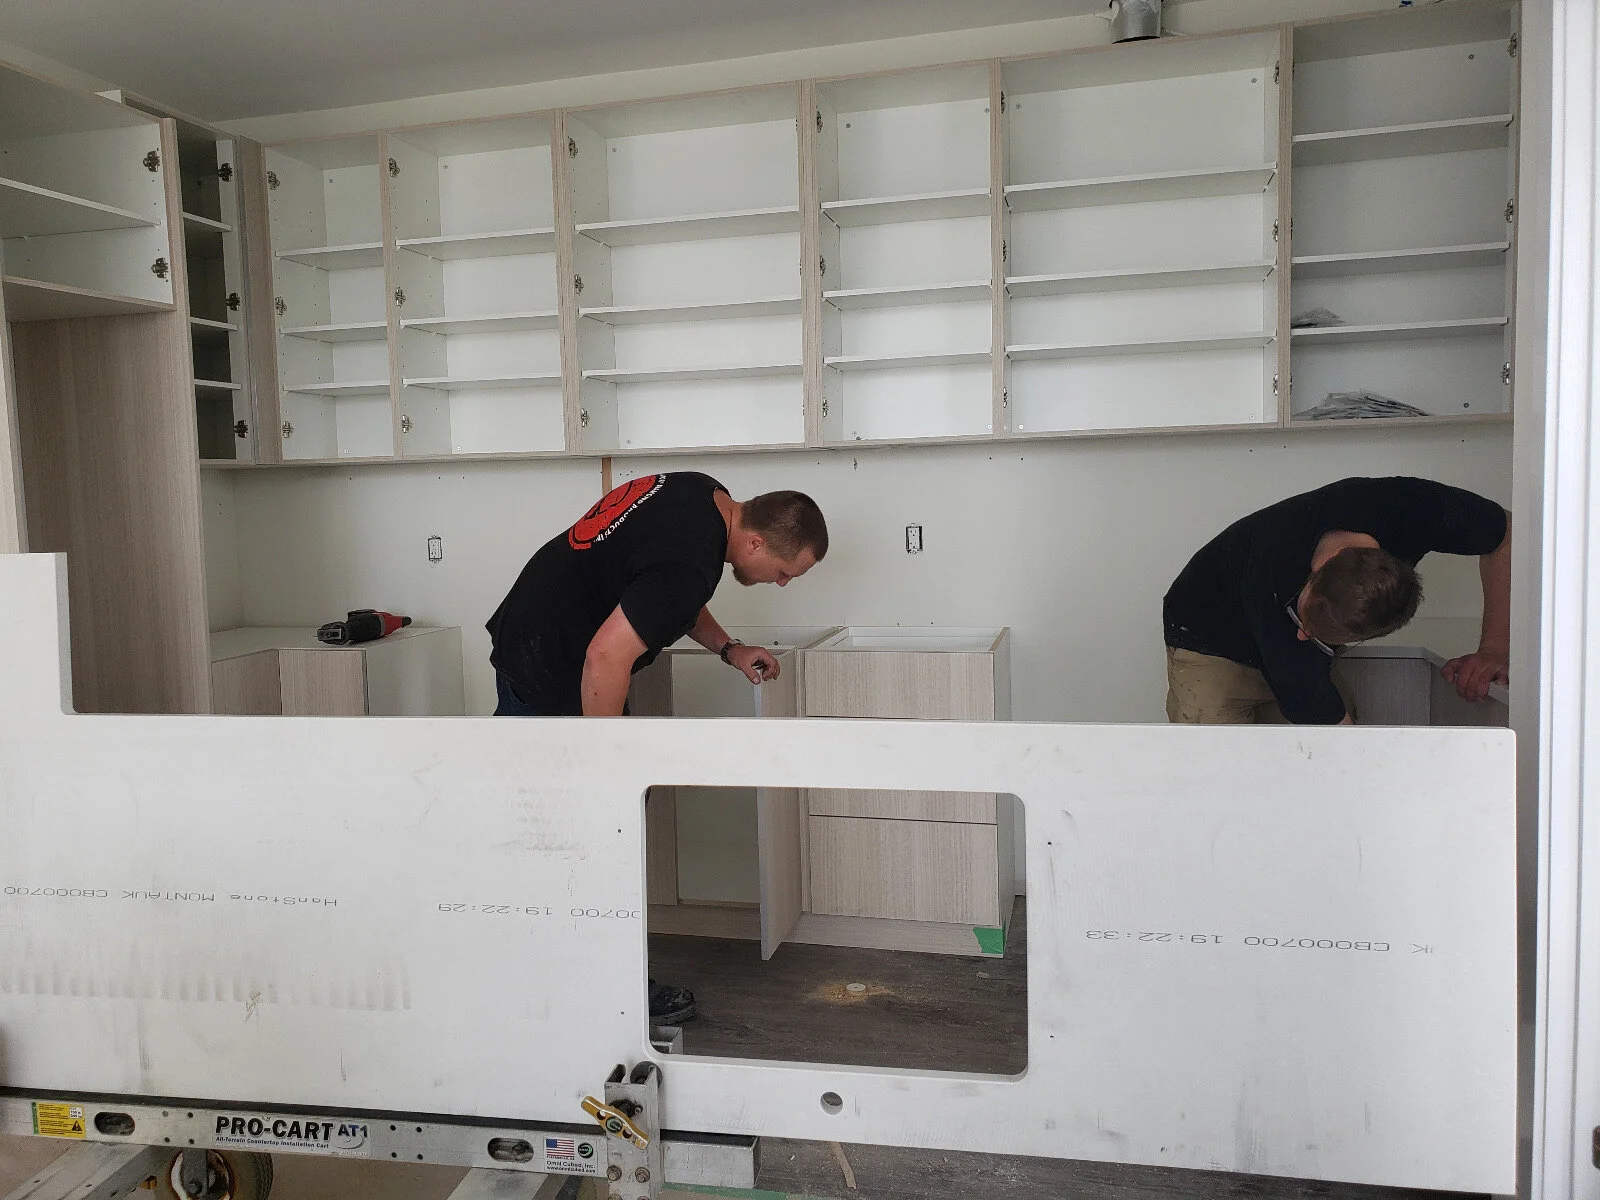
I was thrilled to see it all worked out and here are a few things I learned from our installers, in case you want to install the countertop yourself:
it’s a two person job, especially due to the weight, size, shape
level, level, and level everywhere. you just never know if all the lower cabinets are leveled and you won’t want to risk a small unbalance to crack your newly installed countertop
sharp corners are best to smooth out on site. Starting from rough to super fine sandpaper + a damp cloth to cool off the blade and to keep dust under control
not related to installation but if you have a white SILGRANIT sink, baking powder + dish washer pod in hot water is your best friend to keeping it fresh and sparkling clean for years to come


Just in any reno, there are always the good and the bad.
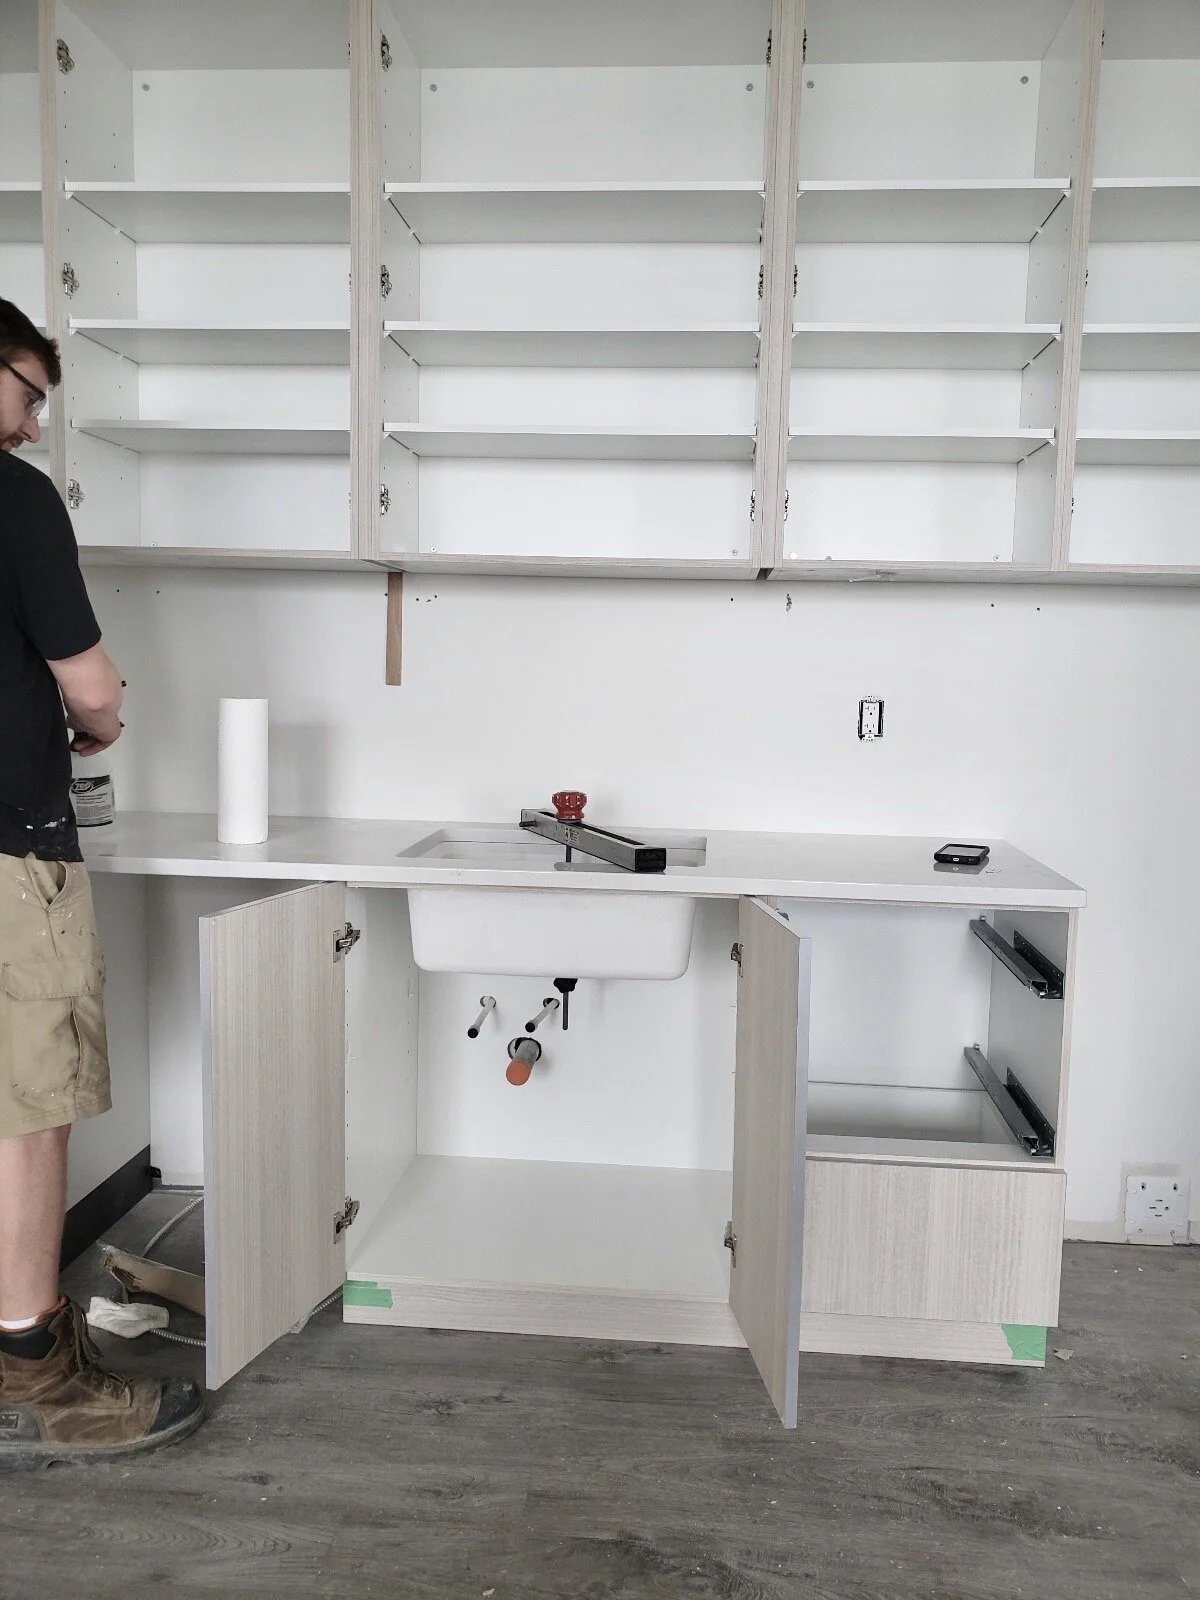
The good: the upper cabinets were reinstalled at the correct height and backsplash installation could resume.
The bad (continues to haunt me to the present day): our fridge gables are still too short. The ones you see here were cut too short and since COVID has shut down most of Ontario and Quebec, we will have to wait until the manufacturer is back up and running before we could get more materials and make us a pair of new gables.

Moving on and back to my happy place pre-COVID, Nicole from HanStone Canada was with us for the backsplash installation. We had so much fun and Nicole was an absolute bliss to work with. I highly recommend you check out HanStone’s IG account and book an appointment to visit the showroom in Vaughan to see the quartz gallery in person!

Are you ready to see my kitchen? Still missing the few components (fridge gables at right heights, top valance to close off the gap to the ceiling, hardware for the lower cabinets) but I am ecstatic to see my dream kitchen taking shape.


While we are on kitchen talk, let’s check out the elegant and sophisticated CULINA faucet from Blanco Canada. I have been obsessed with it ever since I first saw it in my sister-in-laws kitchen in Germany. So when I discovered we actually carry the same model in Canada, I immediately had it mapped out for my kitchen. Here are two gorgeous kitchens showcasing the CULINA faucet in similar application.

image courtesy of Chambers & Stark

Image courtesy of Port and Quarter
As for my own creation, I simply couldn’t love it more. The polished chrome finish works beautifully with the Montauk countertop from HanStone Canada and I love my new white sink! It’s SILGRANIT undercount sink from Blanco Canada and it partners perfectly with the countertop to create a seamless look. Best of all, everything is so easy to clean and low maintenance, which means we get to spend more time enjoying our new kitchen!


That’s week 3 of One Room Challenge Spring 2020. I will be circling back to the living room to tackle a few more projects and you won’t want to miss it. Be sure to checkout my fellow featured designers and guest participants on their progress!

A Glass of Bovino | Beginning in the Middle | Beth Diana Smith | Clark + Aldine | Coco & Jack
Deeply Southern Home| Design Maze | Dwell by Cheryl | Erika Ward | Home Made by Carmona
House of Hipsters | Hunted Interior | Kandrac & Kole | Kate Pearce | Katrina Blair | Liz Kamarul
Veneer Designs | Rambling Renovators | Renovation Husbands | Studio Plumb | Media BH&G
Special thanks to the amazing sponsors who have made my dreams come true:
countertop and backsplash: HanStone Canada
faucet and sink: Blanco Canada